How to Reduce the Size of a JPEG File

How to reduce JPEG file size on Windows
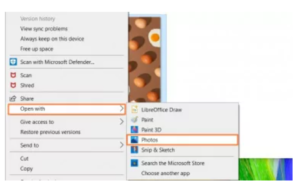
- Open the JPEG file with a double click or Right-click file > Open With > Photos
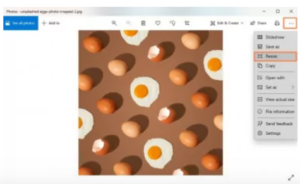
2. Click the three dots in the top right corner and select Resize
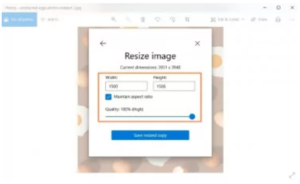
3. Choose the recommended settings or Define custom dimensions to resize the JPEG file manually

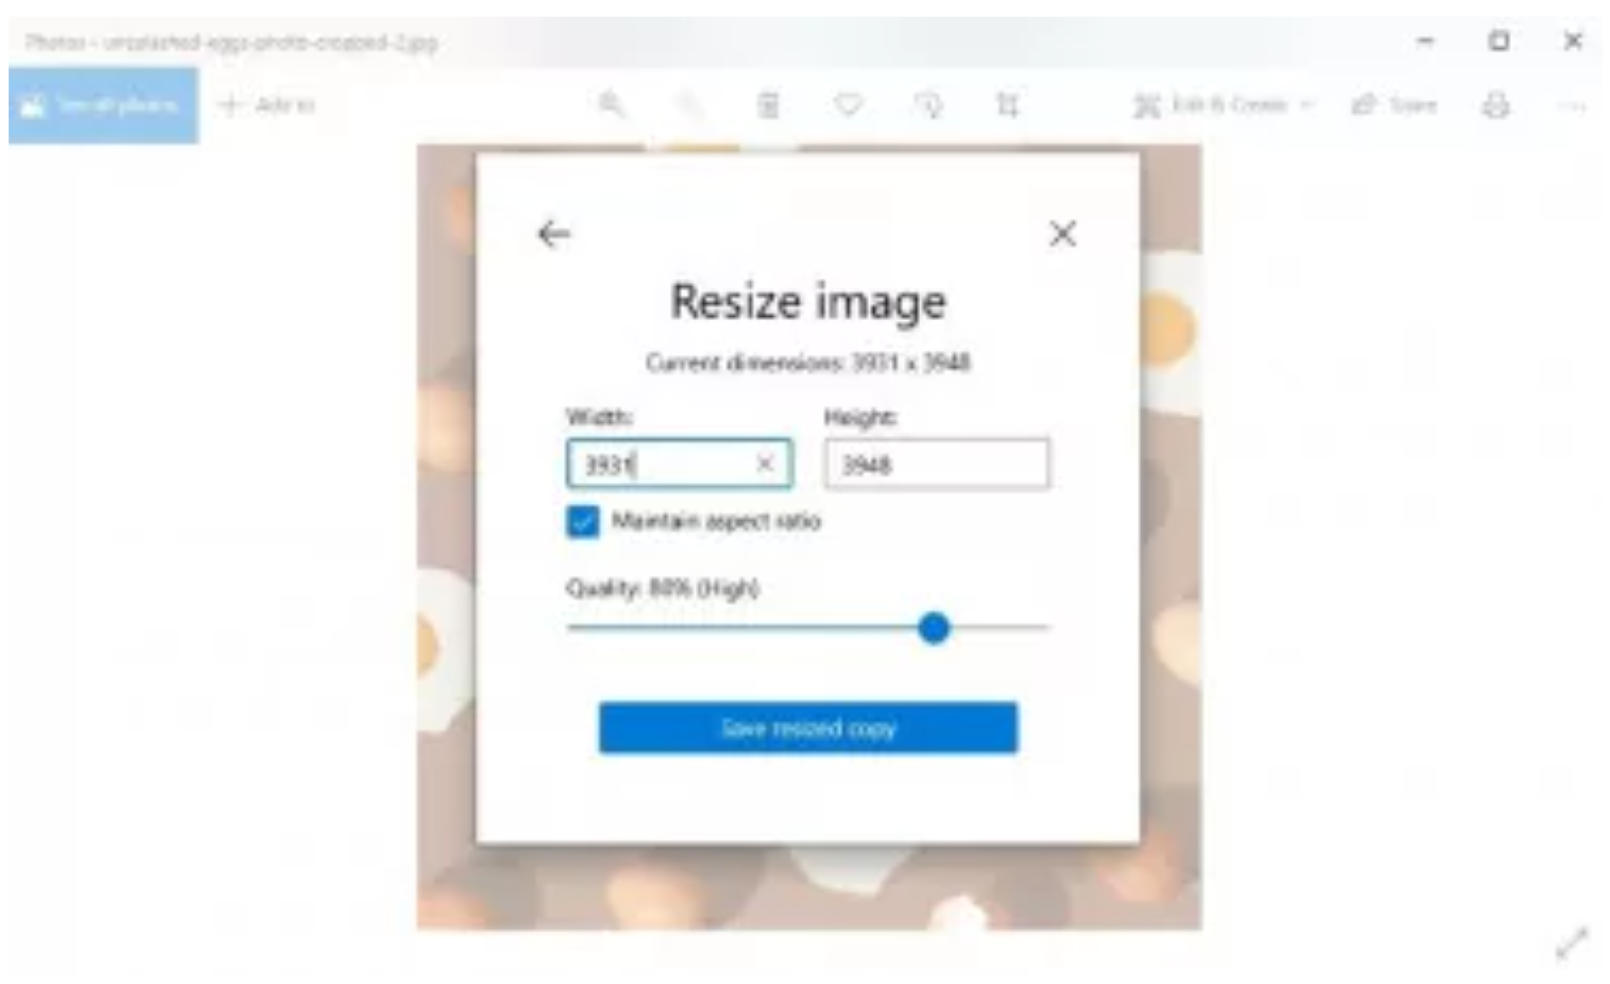
4. Keep the “Maintain aspect ration” option selected and enter new JPEG file width or height. You can also change the level of image quality
5. Press Save resized copy to save the reduced JPEG file on your PC.


Change a JPEG size using Paint
Here are the steps to resize a JPEG file on a Windows 10, 8 or 7 operating system.
- Open the image in Windows Paint. On the bottom of the Paint window, the current dimensions of the image are displayed
- Choose the Home tab
- Find and choose the Resize and Skew button.
The button is right next to the select button on the top left side - A pop-up dialog box will open where you can enter several values. First, enter a new horizontal or vertical value. Remember to leave the “Maintain Aspect Ratio” button selected.
- Click OK
- On the bottom of the main Paint window, you will see the new resized dimensions of the image
- Save the resized JPEG image
How to reduce JPEG file size on Mac
Resizing JPEG files can be done using the Preview application on a Mac.
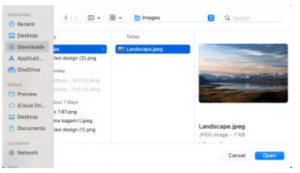
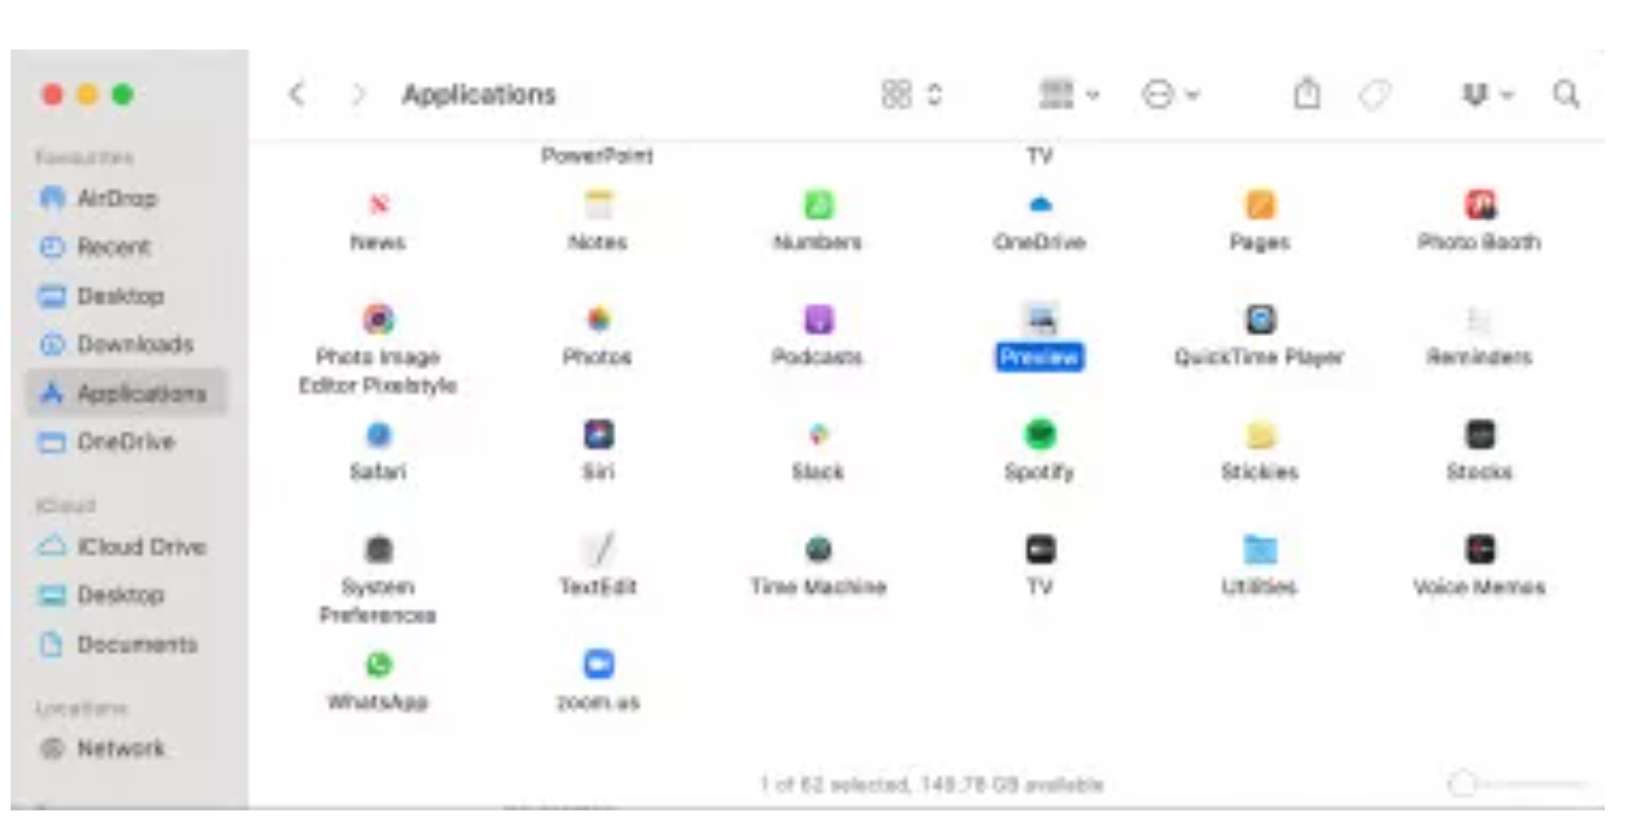
- Open Applications > Click and Open the Preview App

2. Find the file that you want from the pop-up file explorer window
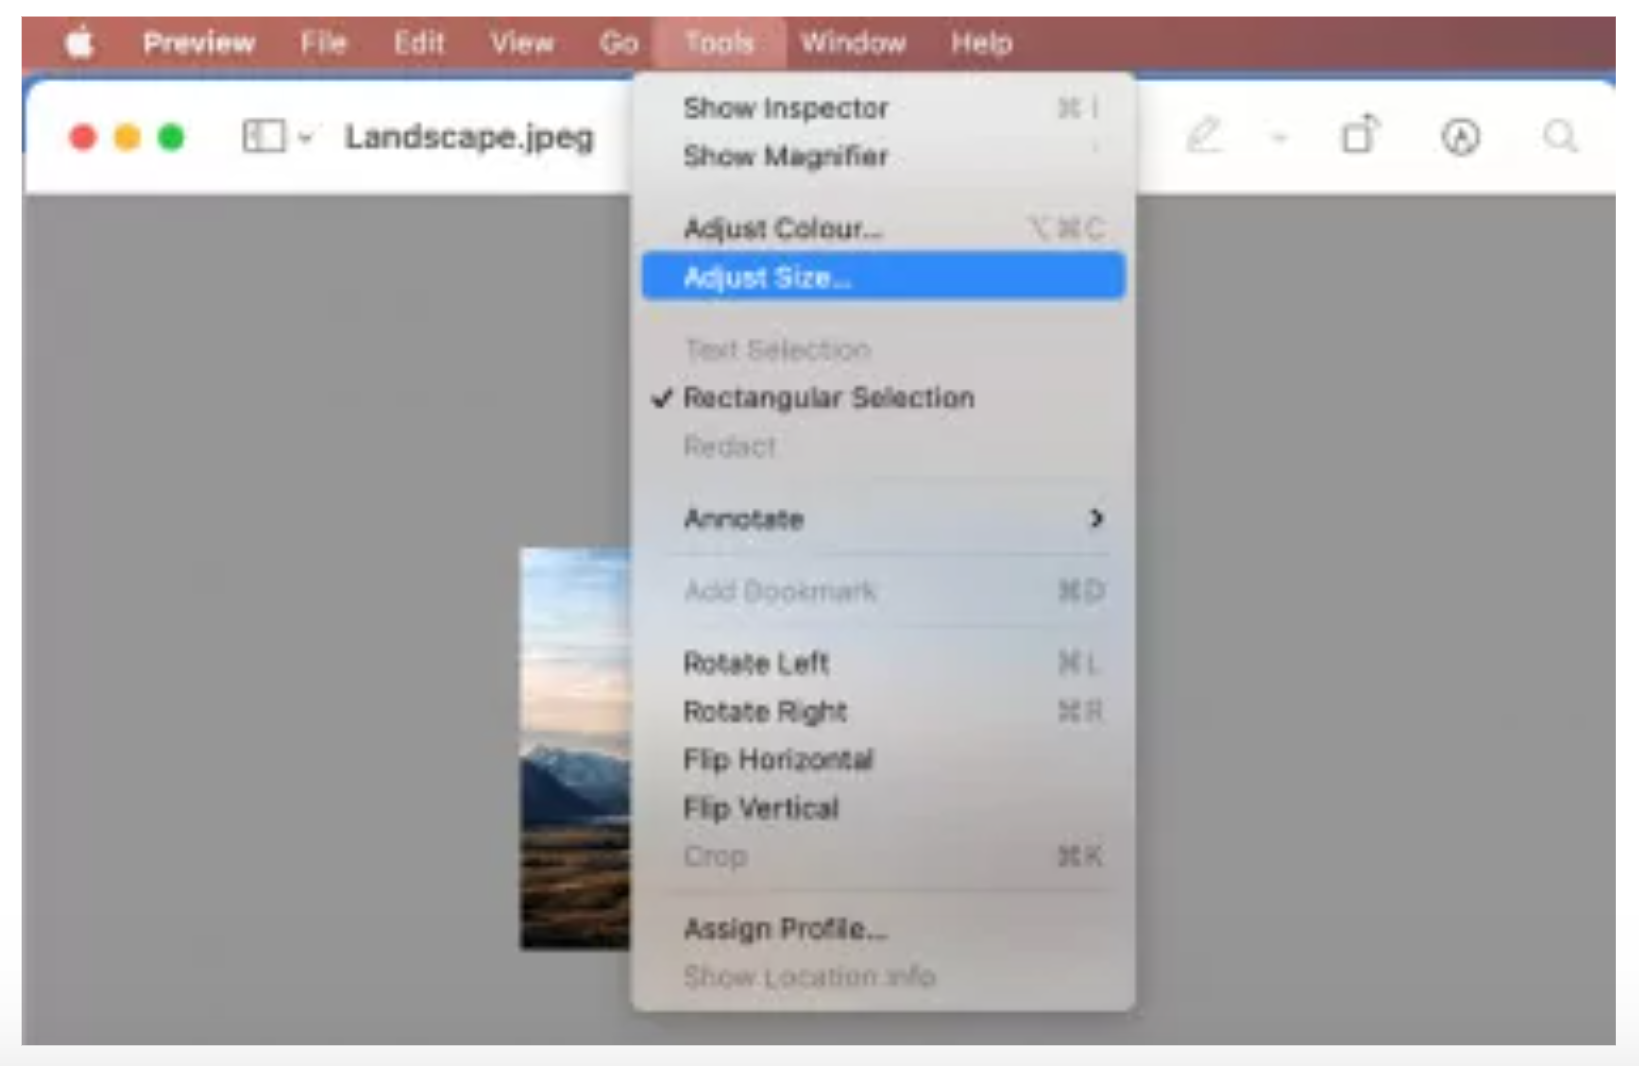
3. To change the image, click Tools > Adjust Size
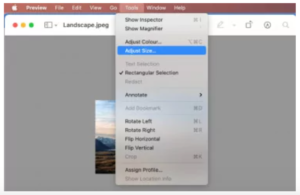
4. A pop-up menu with image dimension settings opens up
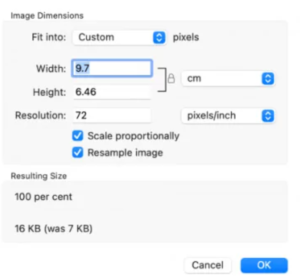
5. You can choose to proportionately change the height and width of the image by entering either the width or the height value, while the lock icon is closed
6. Changing the image resolution is another way to compress the file size. 72(PPI) is best suited for only digital images. For images that will be printed, the PPI (Pixels Per Inch) has to be higher.
7. Click OK to return to close the pop-up
8. Click File > Save As to save the modified version of the image


How to reduce JPEG file size in Photoshop
Photoshop is one of the best image editing software for simple and advanced image editing tasks. Here is how you can use Photoshop to resize the image.
- Open Adobe Photoshop on your computer
- Choose File > Open and choose the image you wish to edit
- Select Image > Image Size
- A dialog box will appear with Pixel Dimensions and Document Size settings
- Choose a proportionate width/height with the link button “on”
- You can choose to reduce the resolution value or keep it. 300ppi is for print files, and 72ppi is for online/digital files.
- You can choose the resampling method options available for the best outcome
- The best resampling methods for reducing file size is Bicubic Sharper or Bicubic
- Click on OK
- Save Image